Sunday, October 2, 2011

Before and After

I thought it might be interesting to see some before and after images taken from similar vantage points, so here are a few photos of the kitchen, dining room and powder room.


Tuesday, September 6, 2011

Cabinet Trim

The trim is now installed above, beside and below the wall cabinets.  Since the cabinets are level and the ceiling is not, the top trim required a tapered cut with our jigsaw.  Similar tapered cuts were also required for the dining room cabinet side trim.

Trim added above and below kitchen wall cabinets

Trim installed on dining room wall cabinets


The face boards are now on the spice drawers to bring them flush with the adjacent cabinets and to cover the spaces on the sides of the drawers.

Spice drawer before installation of face board


Spice drawer with face board installed

Integrated appearance with beveled face board installed

Thursday, August 18, 2011

Slam-free doors

One of the things I like about our new cabinets is the Blumotion hinge cushions, made by Blum.  The tension is adjusted by the screw shown at the bottom of the cushion.


I bought four more on-line from rockler.com (item number 25756) for our upstairs bathroom vanities and installed them tonight.  They are easily installed with a single screw into a drilled pilot hole.  No more slamming cabinet doors!

http://www.rockler.com/product.cfm?page=17447


The island quarter round has been nailed in and I added a 3" spacer board above the valence to provide a better look. 

Quarter round to conceal the shimmed base of the island

Valence with 3" spacer board


Monday, August 15, 2011

Doors and More

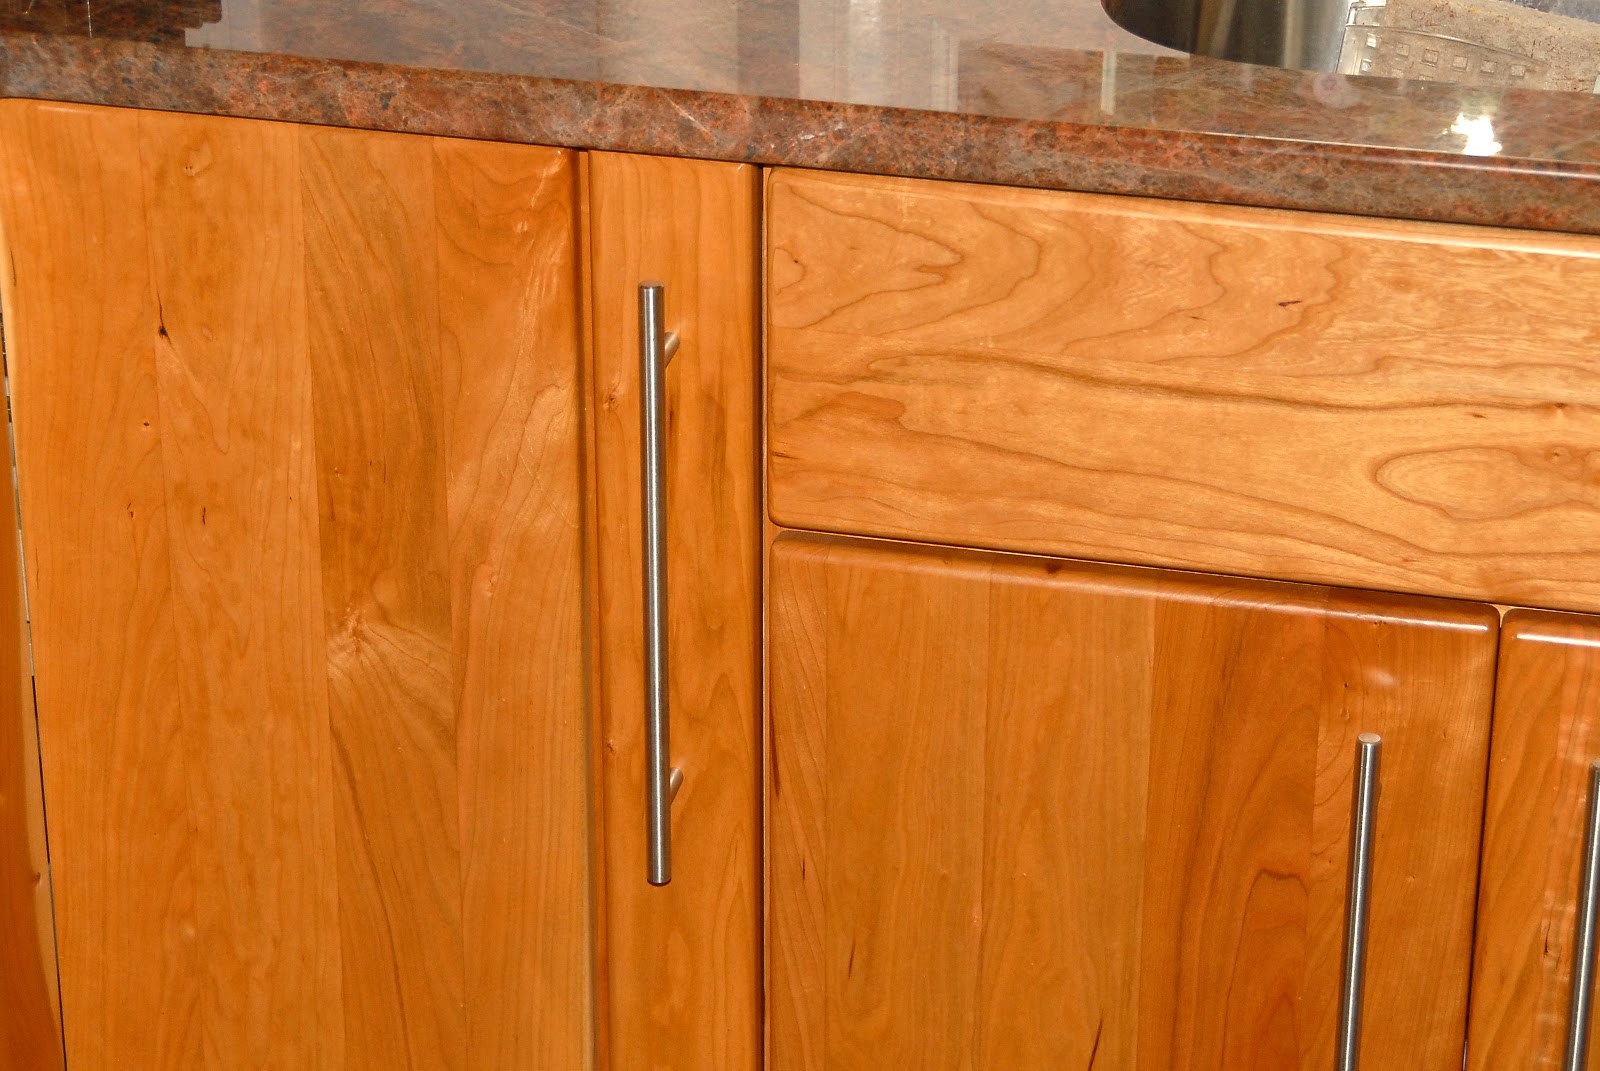
One of Murphy's corollaries must state that you won't really discover where you should have applied spackling until you have painted that very spot.  So, this weekend I did some touch-up with spackling, sanding, painting the wall and, finally the trim in areas that needed some dressing up.  I also installed the granite "braces" under our 12" counter overhang.  I've been assured by the granite fabricator that this is not necessary, but we had already ordered the braces and they are now installed, more for decoration than for any structural support.

Counter "brace"

On Sunday, I installed the under-cabinet lights for the dining room area.  This work is all performed from a contorted, upside down position, and I was tempted to lay on the counter to get a better working angle!

Four under-cabinet lights
Today, Amanda and I took a trip to Home Depot to pick up a 36" x 80" mirrored closet door for the hallway closet.  This is one heavy beast!  I spent most of the afternoon installing it, and we are very pleased with the smooth sliding action of the door.

New bi-fold door for the hallway closet

Entryway


We also bought one more eleven foot piece of oak quarter round, to which I applied two coats of polyurethane and cut to size with our miter box to use as trim around the north end of the island, which had to be shimmed off the floor to keep it level.  I'll nail it in tomorrow with the brad gun.

Thursday, August 11, 2011

Kitchen Cabinets on Steroids

Well, that was easy!

Hope you enjoy this short and imperfect video of our cabinet installation.


Tuesday, August 9, 2011

Lights!

Today, I installed the five under-cabinet lights above the countertop surrounding the kitchen sink.  I also replaced the dimmer switch that I fried yesterday.  Each light is a 20-Watt Halogen. 

Counter tops illuminated by under-cabinet lights
The all important coffee counter
Here's the scene in late afternoon.  The lights are on, but washed out by daylight.


Tomorrow, I'll install the under-cabinet lights in the dining room.  We are getting close to completing the detail work!


Monday, August 8, 2011

Fun with Brads

I finished all of the time-consuming cutting of quarter round on Sunday and today I got to play with our new 18-gauge brad nail gun, which runs on compressed air.  What took hours to cut and install took all of about 30 minutes to nail in with the gun.

Hitachi brad nailer positioned for firing

I had one nail jam near the end of the job, and it was easily cleared with a small screwdriver.  This was so much easier, efficient and effective than drilling pilot holes and hammering in nails.

Wall extension by the refrigerator
I mounted the first of eight under-cabinet lights today. While playing around with the loose supply wires to test the light, I managed to short circuit the dimmer switch, which expired with a POP! sound.  I got a replacement at Home Depot after dinner and will install it AFTER I install all of the rest of the lights in that line-up.  Photos tomorrow.